Hey friends!
I just wanted to write a quick post today about one of my summer Pinterest projects: making crate seats for my guided reading table.
I wish I knew who came up with this Fabulous idea. Whoever did is my hero!
I decided to make my own crate seats for my classroom because, like many of you, storage is ALWAYS an issue. Plus, they’re super cute and SUPER easy!
Here’s what you’ll need.
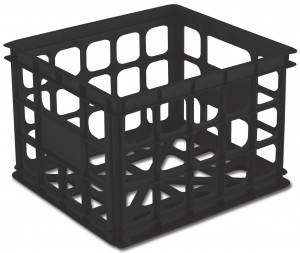
1. A Crate for each seat you want to make.
2. Some fun fabric. I’m a BIG fan of Joann Fabric.
3. Some wood. (thank goodness for my hubby who knows how to use a saw)
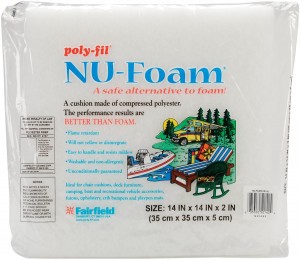
4. Padding.
Unfortunately, I did not take pictures during the process, but if I make more in the future, I definitely will and add them to this post.
Here’s what you do.
1. Cut your wood so that it sits in the upper lip of the crate.
2. Measure and cut your fabric so it can wrap around the wood with a little hang over so that you can staple it in place. Don’t forget to account for the padding. What I did was lay out my fabric, put the padding down and the wood on top, and then measure from there.
3. After you have your fabric cut, lay out your fabric, put your padding in the middle, and the wood on top.
4. Fold each side in and staple it down. This is much easier with two people.
5. Place your lid on your crate seat, and you’re done! Repeat for each seat you wish to make.
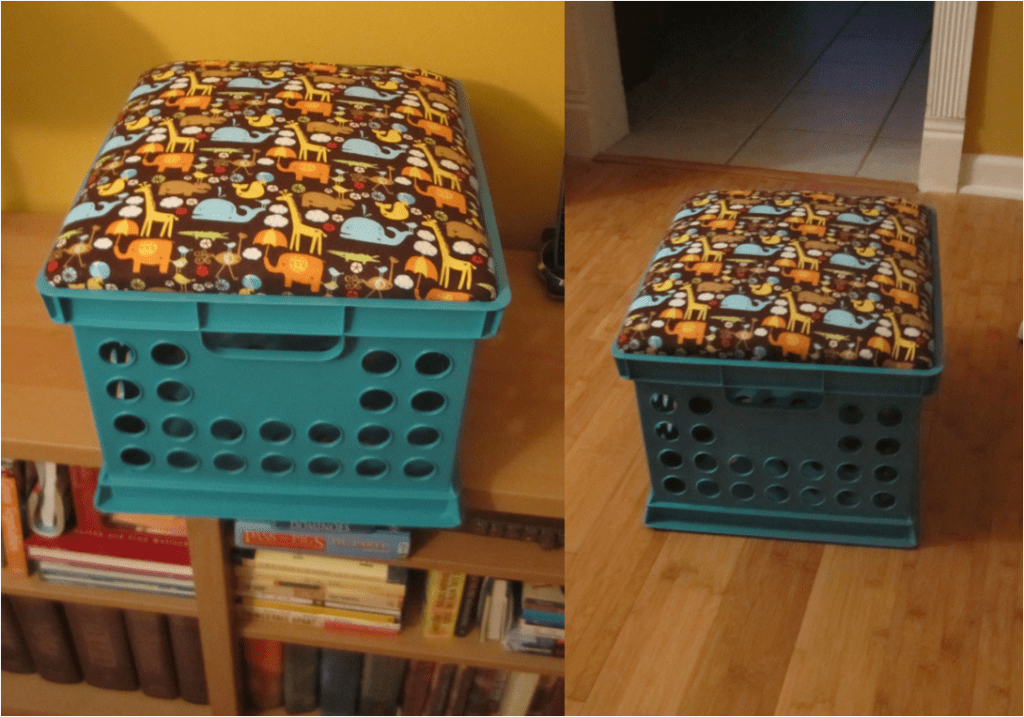
Here’s what the final product looks like!

The only thing that I would suggest (that I didn’t do) is to add a loop of fabric on either side for a handle to make opening it up a little easier. I actually think I will do that this summer to each seat.
These seats are great for storing guided reading supplies without taking up any extra space. I would definitely recommend making them.
I hope this was helpful. 🙂
Until next time!
Martha from Primary Paradise
Have you made crate seats for your classroom? What is your favorite creative storage?
Leave a comment below and let me know!


