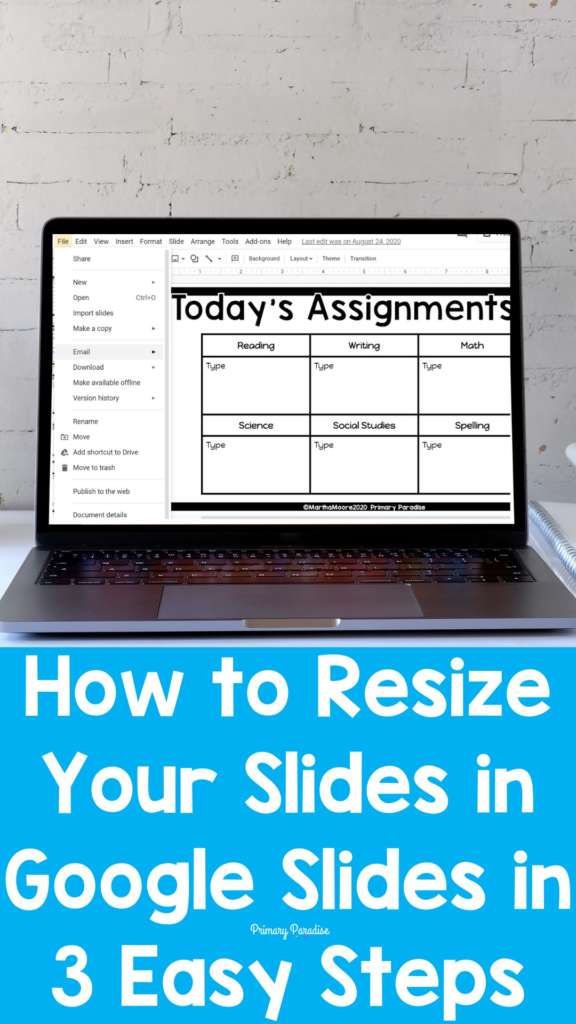
If you’re using Google Slides to create activities for your students, you need to know how to resize your slides. Adjusting the size to fit your activity will make a world of difference for your students. Here is how to change the size of your Google Slides presentation.
Why Does My Google Slide Size Matter?
You might be asking me, “Why does it matter what size my Google Slide presentation is? Well, it actually matters a lot! If you’re planning to use a worksheet you already have, import an image as the background, or just want to make sure that students have enough room to work, you will need to adjust the size of your Google Slides. When students are working digitally, we need to keep that in mind. Optimizing the size so students have room to work on whatever the device they’re using is super helpful.
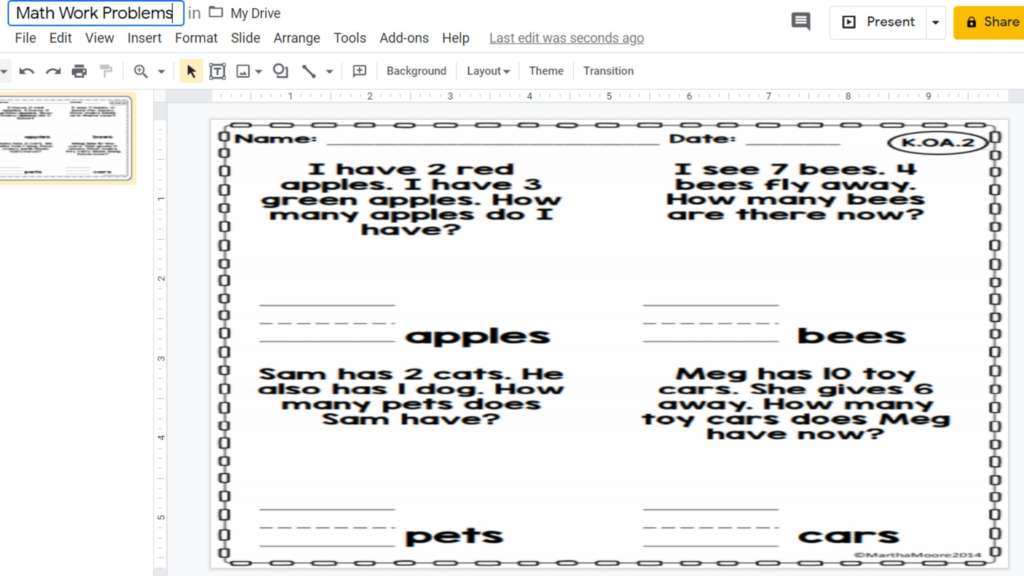
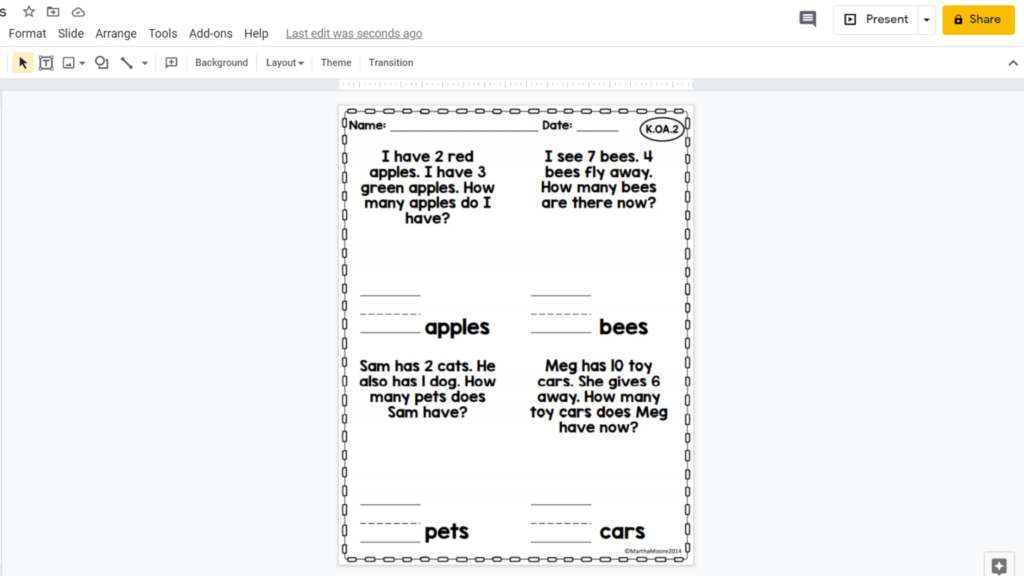
Also, if you’re uploading a worksheet you already have (be sure to make sure this isn’t violating copyright), you want to match the size of the worksheet. The same goes for a background image. Google Slides Automatically stretches or shrinks the image to fit the slide. This means, if you don’t resize your slide size (say that 10x fast), you might end up with a warped image, like this.
So, let’s learn how to resize our Google Slide presentations for our students.
How to Resize a Google Slides Presentation in 3 Easy Steps
First, Google Slides are automatically set to a 16:9 ratio. This format and size works well if your students are going to do an activity where you want them to work on a computer or laptop. It also works well if they’re holding a tablet horizontally. If you want your students to work on an iPad (or any tablet) vertically, you can reverse that ratio and set it to 9:16.
But, if you have a specific picture or an already made worksheet to add to Google Slides, you might want to change that ratio. Here’s how.
Step 1: Figure out the size you need
If you’re using a worksheet, typically in the US, the size is 8.5x11in (or vice versa depending on the direction of the paper). If you’re elsewhere in the world, you might be using A4 paper which is 29.7×21 cm. However, if you’re unsure what size your image is, you can use this handy website to check. Simple upload your image and it will give you the exact size in pixels.
Step 2: Find Page Setup
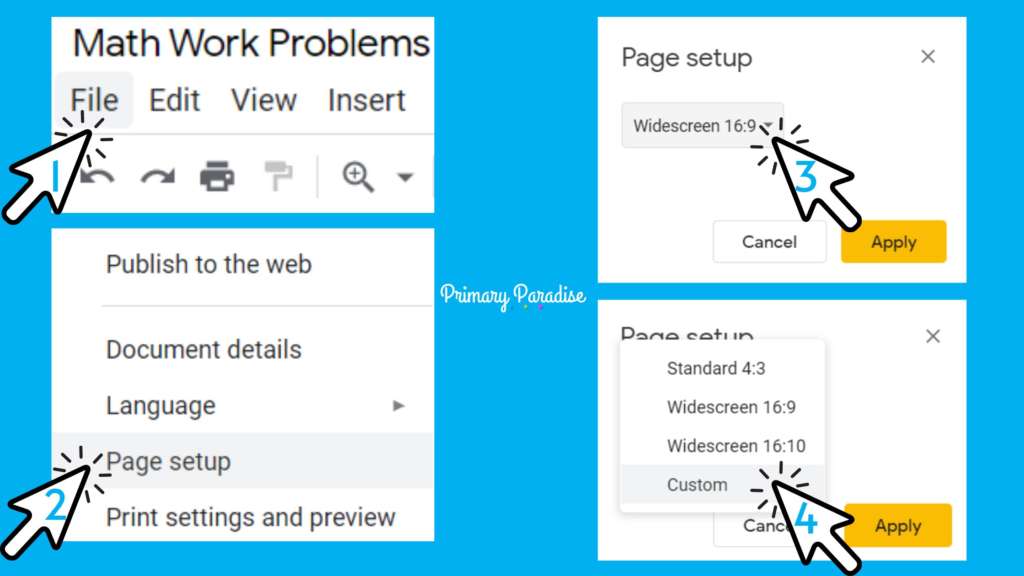
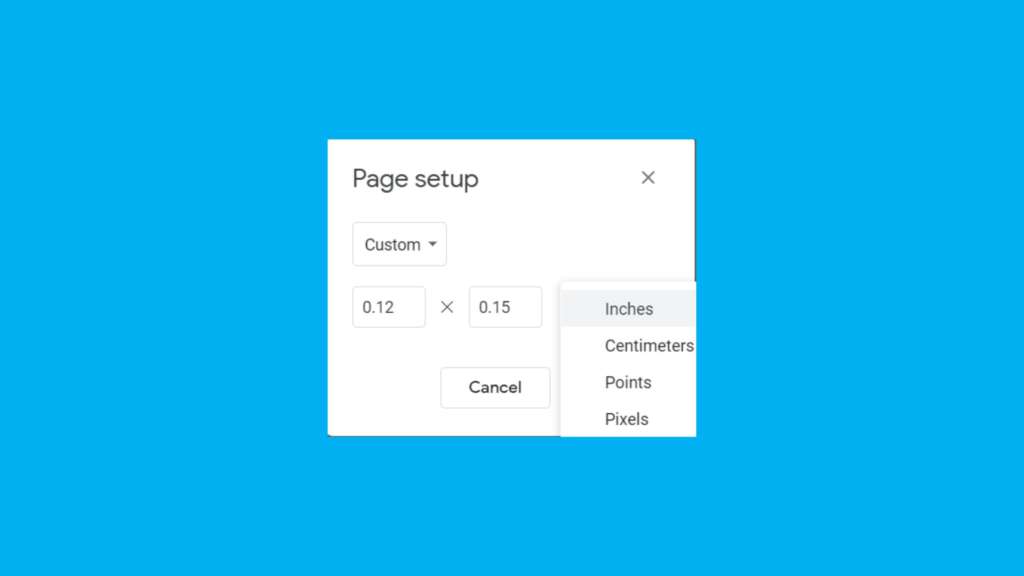
Once you know what size you need to resize your Google Slides presentation, you need to enter your dimension. To do this, create a new, black Google Slide presentation. Click on File and you’ll see Page Setup at the bottom of the drop down menu. Click on Page Setup. You’ll see the default setting which is “Widescreen 16:9”. Click on the arrow to the right of that, and then click on “custom”.
Step 3: Enter your dimensions
Now you can set the dimensions of your Google Slides presentation. This will be the size for every slide in this particular presentation. The first number is the width and the second number is the height. You can enter your dimensions in inches, centimeters, points, and pixels. Typically, you’ll use inches, centimeters, or pixels. Select which one you’d like. Then, enter the size you’d like the presentation to be. Select Apply.
Now, you have a Google Slides presentation that’s been resized to fit your needs! Repeat these steps any time you need to change the size of a Google Slides presentation to something other than the default.
Need more Google Slides help? Check out this tour of Google Slides.
Find me on Instagram, Facebook, Twitter, and Pinterest!
Feel free to join my FREE Facebook Club for k-2 teachers here!
