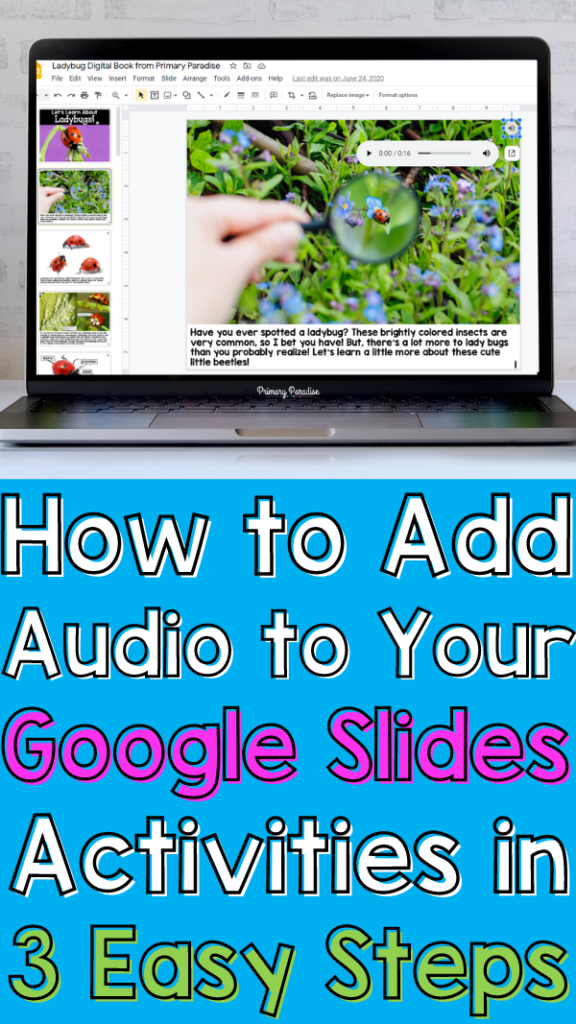
Did you know you can add your own audio to Google Slides presentations? It’s true, and it’s fairly simple. Here’s a step by step guide of how to add your own audio to Google Slides.
Why Add Audio to Google Slides?
First, let’s talk about why you’d want to add audio to Google Slides activities? (If you already know why it’s awesome, feel free to skip this section to the guide below.)
If your students are distance learning, it can be helpful to add audio directions, in addition to print directions, for students. It’s likely that not all students have an adult next to them all day, so adding audio means all students can access the directions.
Adding audio also helps students who might struggle with reading things on their own. You can record audio for reading passages, activities, or really anything that you might write on a slide.
Adding audio allows students to listen as they read to make sure they receive the correct information. It also helps support struggling readers.
Lastly, adding audio can turn a boring presentation into something special! It’s much more exciting for students to listen to you tell them about a topic than to just read it alone.
So, in summary, adding audio can foster independence, help struggling learners, ensure all students receive the same information, and make your presentation or activity more engaging!
How to Add Audio to Google Slides
Step 1: Record Your Audio
The first thing you need to do is record your audio. There are many apps, websites, and programs you can use to do this. I like Audacity the best because it’s free and it’s very easy to use. Once you’ve downloaded the program, you’re ready to record.

For the best results, try to speak clearly and loudly in a room without background noise. To record, press the red button. To stop recording, press the square. If you want to delete it and start again, highlight the sound waves and press backspace. You can also just delete one section the same way.

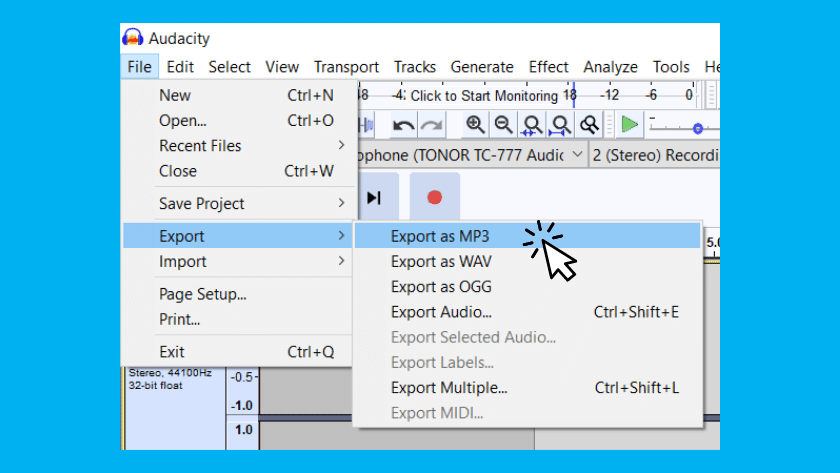
Once you’re happy with your recording, export it as an audio file. Go to file –> export –> MP3.

When the export window pops up, give the file a name and click save.
Another window will appear to edit metadata tags. You don’t need to do this. Simply click OK.
Step 2: Upload to Google Drive
Now that you have your audio file created, you need to upload it to Google Drive. Go to Google drive and click on file upload on the left hand side. Select your audio file.

Once you’ve add the audio file, you need to change the sharing settings. If you don’t do this, your students will not be able to listen to the audio. Right click on the file and click share. Then, set the sharing settings to “anyone on the internet with this link can view”. This ensures that your students can actually listen to the audio.
Step 3: Insert Audio into Your Presentation

Last, go to your presentation. Click on insert –> audio. Then, select the audio file you’d like to use and click insert.

A circular audio button appears on your slide. You can move it to wherever you’d like it on your slide. You can also format what the button looks like, if it plays automatically, and how big or small the button is. Be sure to think about where you’ll place it as a long play bar appears when the audio is playing.
That’s it! You’ve successfully added audio to your Google Slides presentation!
Want to learn more about the ways you can use Google Slides in your classroom? Keep reading:
- How to Embed a Video In Google Slides
- How to Use Present and Edit Mode in Google Slides
- 5 Reasons to Use Digital Templates for Google Slides


