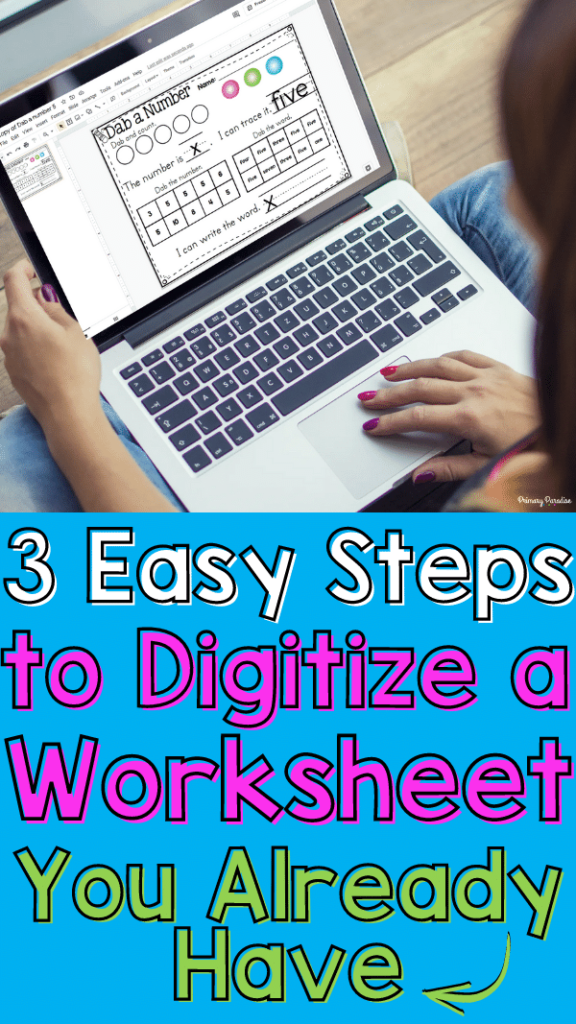
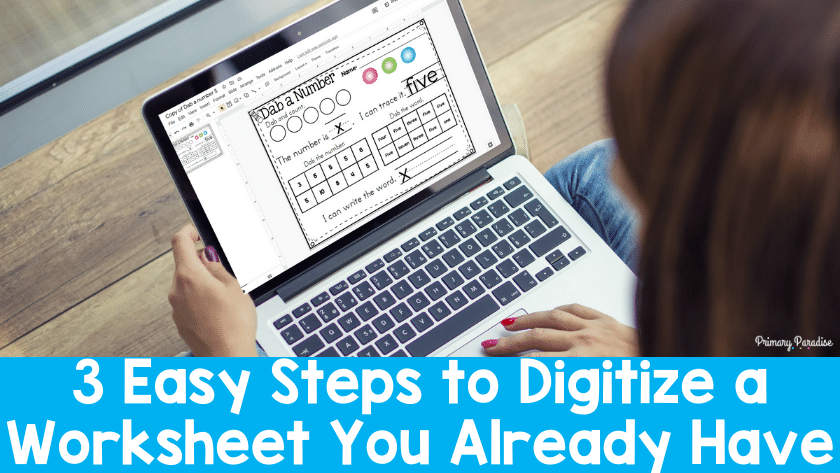
Creating a digital version of a worksheet you already have is relatively simple. Here’s a quick guide on how to do it using Google Slides.
Before You Digitize a Worksheet
A quick caution. Before you take a worksheet and try to make it digital, make sure you have permission to. Of course, if it’s something you’ve created yourself, go for it. If it’s something that you purchased from TpT or elsewhere, you need to check with the creator to make sure you’re allowed to. If you are allowed to, be sure to only use it with your own class.
How to Make a Worksheet Digital
Although it’s best to create and use digital activities with your students that are designed for digital, sometimes you might want to take a worksheet you have and digitize it. Doing so is pretty simple. Here’s how.
1. Save Your Worksheet as an Image
First, you need to have your worksheet as an image file. If it’s a digital file, this is easy enough to do. Either you can save the PDF as an image (I prefer PNG) by going to file, save as, image. Or, you can take a screenshot of the worksheet (although this is often lower image quality). If you have a paper copy, you can scan it to your computer using a scanner, and then save it as an image.
2. Resize your Google Slide presentation
Next, you’ll want to change the size of your presentation to match your worksheet. If you don’t the worksheet will appear stretched or compressed and won’t look very nice. If it’s a piece of paper, it’s likely that 8.5X11 is the size you want. Not sure how to resize your slideshow? Never fear! You can read how to do it in 3 easy steps right here.
2. Add the Worksheet as a Background
Once you’ve made your presentation the right size, you can add your worksheet as a background to the presentation. Learn how to do that right here. (This means students can’t move it.) If you’re adding a multipage worksheet, you can learn how to add a bunch of background images as once right here.
3. Add Text Boxes, Shapes, and More
Now that you’ve added the worksheet as a background, you can get it ready for students. Although students can add text boxes themselves, it’s best to add them ahead of time so they can get right to work. You can add text boxes where they need to write, shapes if they need to manipulate objects, add audio directions, images, or whatever else might make it work for your class. If you’re new to Google Slides, here are some articles that will help you make the most of it.
- Learn the basics- A Basic Tour of Google Slides
- Add moveable pieces- How to Arrange and Order Objects
- Spice your activity up with great fonts- How to Access More Fonts
- Make it more accessible- How to Add Audio to Google Slides
- Link to other resources- How to Add Hyperlinks to Google Slides
- Add video- How to Add Video to Google Slides


